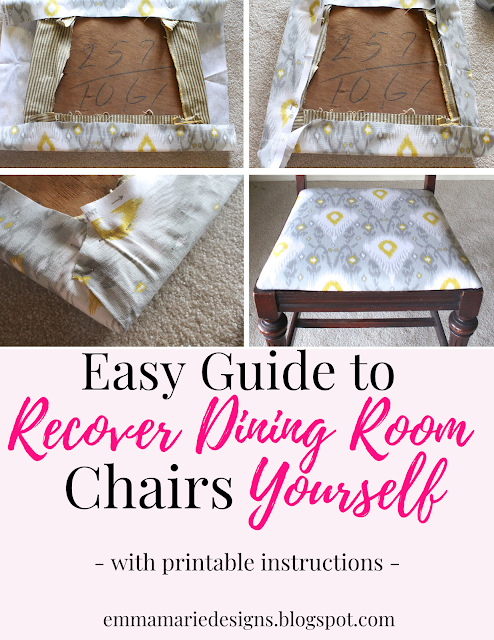
How you reupholster a dining room seat is such an easy project that everyone, even a beginner DIYer, can do it! All you need is a great set of instructions (that you can get right here), a few supplies, and a chair seat cushion to recover. The hardest part in this quick project is getting the seat corners to fold smoothly. But, never fear! I've got a couple of tips that will make even that part simple for you.
I've had my antique dining room table and chairs for about 2.5 years now and told myself during that time that I would recover the chair seats. But, I never did because I can be so indecisive about committing to things longterm. Anyone else!?
Finally, I gave myself a start date, grabbed some fabric, and just did it.
I can't believe I put this project off for as long as I did, because this project only took a few of minuets to complete from start to finish. I love quick, easy, and simple home projects, and replacing the fabric on my dining room seat cushions checked all those boxes! Ready to learn how you can do this straightforward home project? Lets get started!
This post contains affiliate links. For more information read my disclosures here.
Supplies Needed
- Instructions - You need these! Print them off so you can have them nearby.
- Chair seat to be recovered
- Fabric - 1/2 yard is needed for each dining room seat cushion.
- Staple Gun and Extra Staples
- I love this staple gun! It is inexpensive and has lasted me a long time. Get it, you won't regret it!
- Screw Driver
- Scissors
- You need nice, great quality pair of fabric scissors. I love these ones and have had mine for years. Remember to only use fabric scissors for cutting fabric, nothing else!
The Best Fabric for Recovering Seat Cushions
The fabric that works the best when upholstering seat cushions is upholstery fabric. It is stronger and more durable than cotton fabric and is made specifically for areas that are going to get a lot of use, such as dining room chairs, throw pillows, and curtains.
It is always worth it to spend a little bit more to buy a good quality, upholstery fabric when doing a project like this. I usually buy my fabric at Hobby Lobby or Joann fabrics. You can also buy fabric online at Amazon or fabric.com
Measure 1st!
Be sure to measure your seat cushion before buying fabric! You want to make sure to get enough fabric that covers the seat cushion, goes around the sides, leaving a couple inches for overhang. I typically need 1/2 yard of fabric for each chair. So, if I have 6 dining room chair cushions to recover, I will buy 6-6 1/2 yards of fabric.
But, never estimate how much you will need, measure before buying! It is always best to have too much fabric than too little fabric.
Do You Need to Remove the Old Fabric?
Decide if you want to remove the old fabric or not. I don't think it is always necessary to remove the old fabric before recovering the seat cushion with the new fabric. Let me explain why.A lot of times, the seat is old and the old seat cushion can be dry rotted, starting to come apart, and a mess to deal with. You can get around this by leaving the old fabric on the seat. I only recommend this if you cannot see the old fabric pattern through the new fabric pattern and if there is only 1 layer of fabric on the chair cushion.
If you do see the old fabric under the new fabric or if there is more than 1 layer of fabric, than take the extra time to remove the old fabric before doing all the work to recover your chair cushions. I prefer to use a flathead screwdriver to get under the old upholstery staples.
If you need a new cushion, I like these ones. Use the old cushion as a template for the size that the new cushion needs to be. Be sure to measure the old seat cushion so you know how much upholstery foam to buy.
You can see that I choose not to remove the old fabric for this project. I knew the seat cushions were old and you couldn't see the old pattern through the new pattern. There was also only 1 layer of fabric on the chair. I would have removed the fabric if one of those things were not true for my chairs.
Don't take my word for it, do what is best for your chair cushions and your situation.
Ok, so now that we've got all the supplies and instructions out of the way, lets get started recovering our chair cushions!
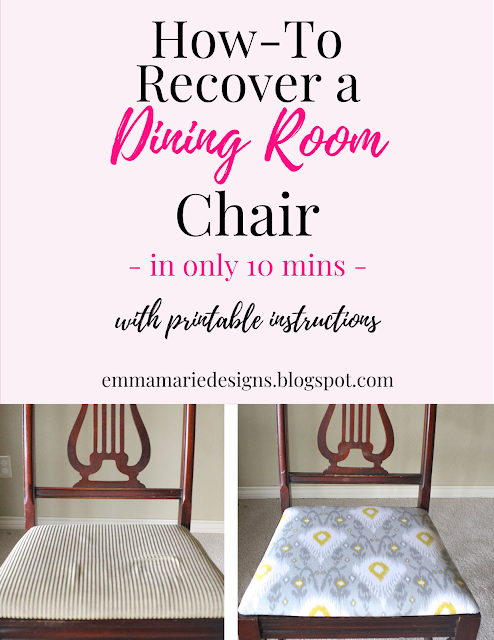
This is what I started with - a beautiful antique chair with seat fabric that I did not like. The seat fabric was also worn out in several places and didn't look the best, so it was time to leave.
Instructions
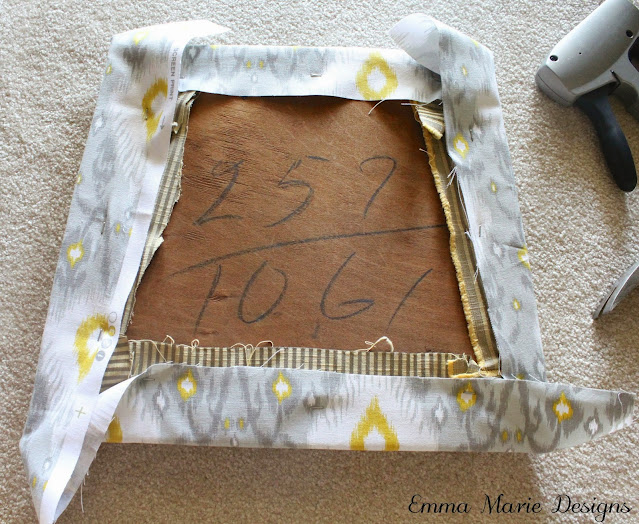
Cut out the fabric with an extra inch or two to account for overhang. Than lay it out and place the seat on top, making sure that the pattern is how you want it. Starting at the top, staple the fabric onto the seat. Then pull the fabric tightly and staple the opposite end.
You defiantly need a staple gun and extra staples for this project. I have this staple gun and love it. It has held up very well several years and is still going strong.
Next, you'll want to staple the sides. Again, making sure that the fabric stays nice and tight and there are no wrinkles on the other side. Once all the sides are stapled, its time for the corners.
Getting the corners folded correctly can be a challenge. Just keep working the fabric until it's nice and pretty with only 1 fold showing - remember it's like wrapping a gift. Cut some of the fabric off so that it doesn't get too bulky.
- Easy Centerpiece Ideas
- How to Make Tissue Paper Tassels
- Simple Topiary How-To
- How to Make a Statement Art
- Let's Make a Pom Pom Wreath
Once done, each corner should lie smooth, lay flat, and have a finished look on the outside. Now it's time to re-attach the seat back to the chair. Pretty, pretty, pretty!
Ready for a side by side before and after? I can't believe the difference that some fabric and 15 minuets makes!
All in all, it only takes about 15-20 mins to recover each chair. I had 6 dining room seat cushions to recover, so it only look a couple of hours and I was easily able to do it during naptime. Next time, I won't wait so long to recover my chairs!
Y'all, this is such an easy project and one that you can do, even if you are a beginner at this diy stuff. All you really need is a staple gun and the instructions that you can download right here. Have I convinced you to recover your own dining room chair seat cushions yet? I hope so!
If this post has inspired you to recover your own dining room seat cushions, be sure to leave a comment below and share a picture on the facebook page!
What projects have you been working on this week? Any fabric or chair projects going on? See more quick DIY projects here.
Linking up to: Love of Family and Home, Tidy Mom, Home Stories A to Z, Craftberry Bush, The Happy Housie


Oooh so pretty! I really like the fabric you chose! Thanks so much for sharing, Kimberly!
ReplyDelete~Abby =)